
ステップ1 - チェック
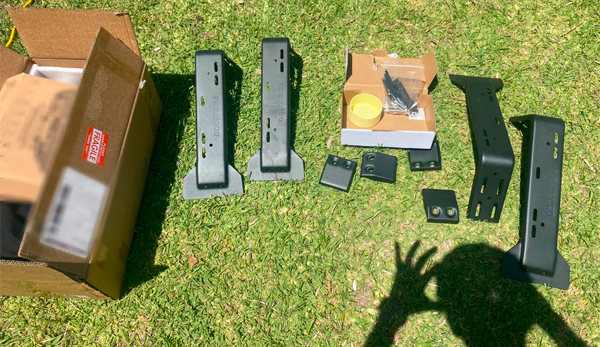
提供されたすべての部品を清潔で滑らかな表面に置き、常に土や水から離してください。
各ブラケットに必要なハードウェアがすべて揃っていることを確認してください。
他の取り付けのヒントや指示については、セットに付属のマニュアルを参照するか、以下からダウンロードしてください。車両の屋根の積載率を知るために、特に車両のマニュアルを参照することが重要です。車の雨樋の状態やラック/プラットフォームの重量も影響する可能性があることを忘れないでください。
一部のブラケットは、以下の一般的な手順とは異なる取り付け方法があります。これらをお持ちの場合は、専用のガイドに従ってください。
提供されたすべての部品を清潔で滑らかな表面に置き、常に土や水から離してください。
各ブラケットに必要なハードウェアがすべて揃っていることを確認してください。
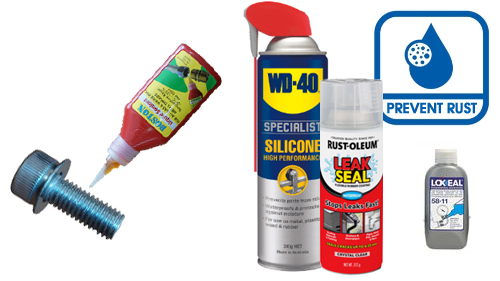
低メンテナンスで長持ちする取り付けを計画している場合は、良質なシリコン自己融着テープ、液体シーラント、高密度スレッドシールテープ、または嫌気性シーラントを使用することを推奨します。
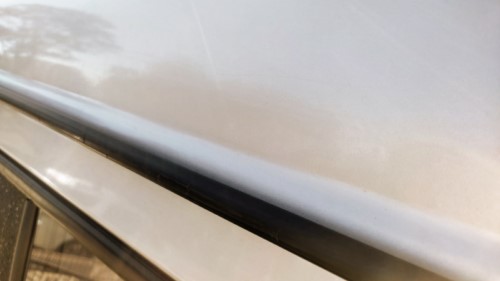
雨樋を清掃し、ブラケットを設置する場所に何もないことを確認してください。
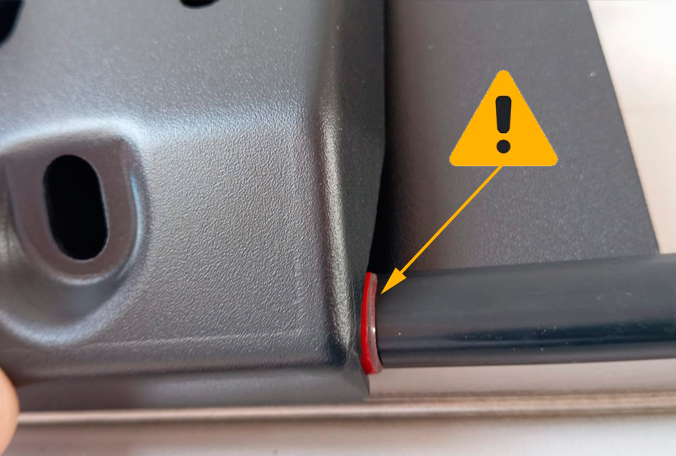
雨樋が保護されていない場合は、アクリルテープ または自己粘着性で防水性のある15mmシールトリムやマウンティングテープを使用してください。自転車のチューブからのブチルゴムやラテックスでも、ブラケットを車両の雨樋から隔離するのに役立ちます。
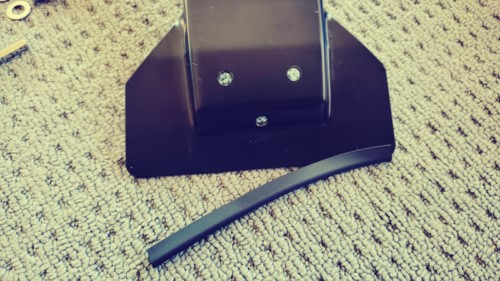
ブラケットの底に提供されたWeather Strip U Channel (ゴムライナー ) を配置します。
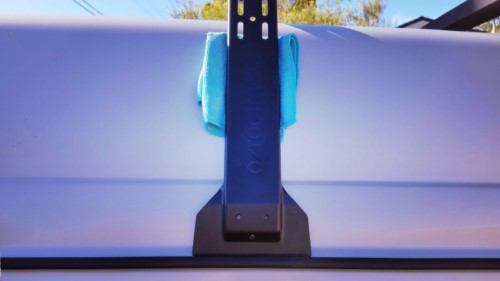
清潔な布を使って、ブラケットを必要な場所に優しく置きます。
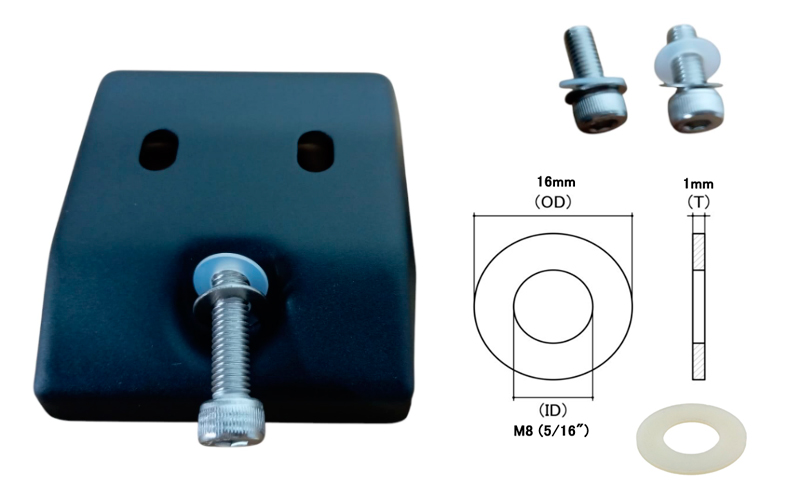
取り付け時にコーティングを損傷しないように、取り付け基板(ブラケット)とステンレススチールワッシャーの間にナイロンワッシャーを置くことを強くお勧めします。
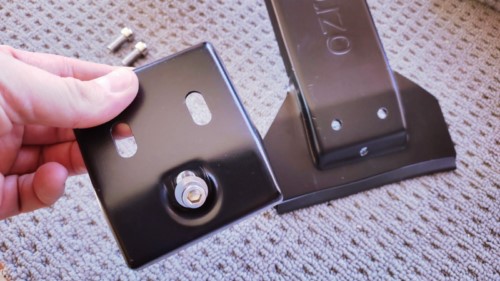
次のステップでの快適さのために、ロックキャップの底の穴に長い「ロックボルト」を配置します。OZ41ブラケットを取り付ける場合は、これらの2本のボルトを均等に配置してください。
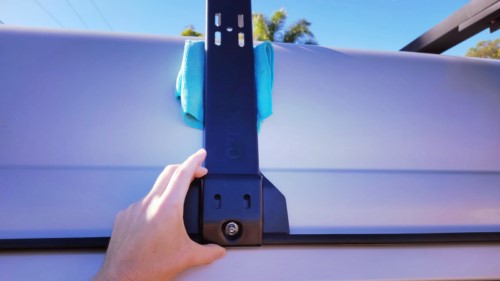
ロックキャップをブラケットの足に優しく配置します。
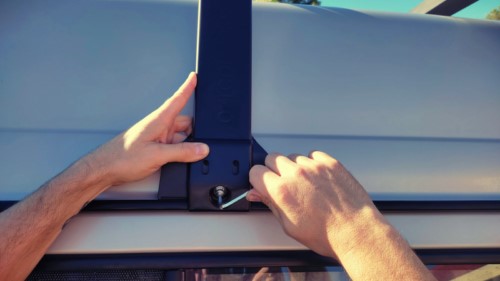
ロックボルトをねじ込み、ブラケットを確定位置にしっかりと固定します。このボルトは安定性を提供します。
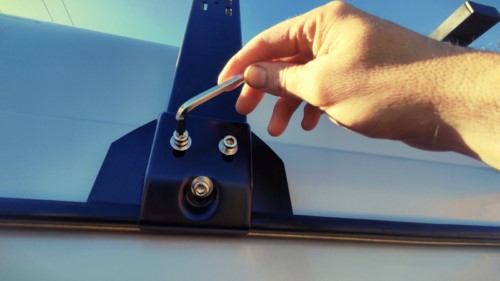
2本の安全ボルトをねじ込み、さらに安全にし、永久にロックします。これらは特に荒れた道で役立ちます。
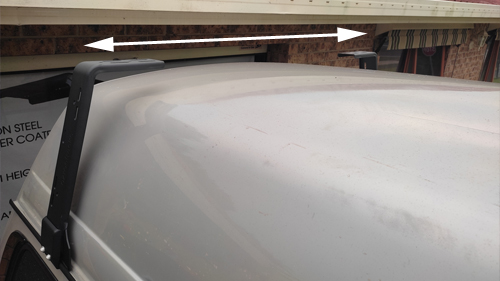
屋根の反対側にもう一つのブラケットをセットします。

フラットスラットを使用して、横方向の距離を測定します。
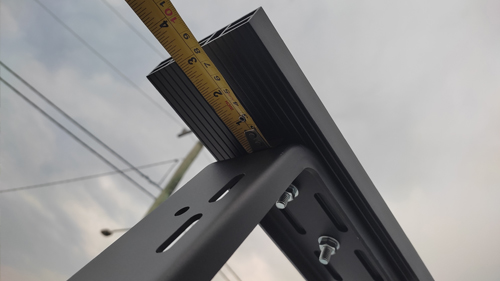
クロスバー/ラックの長さは美観に影響しますが、特定の制限を定めた法律もあります。
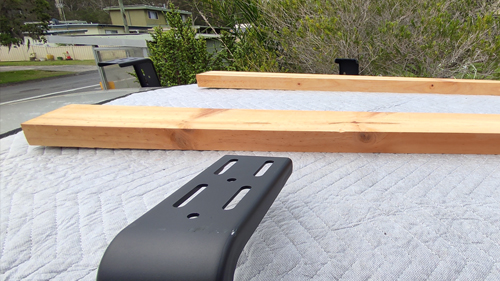
ルーフラックシステムを取り付ける前に、必ず車両のルーフを保護してください。
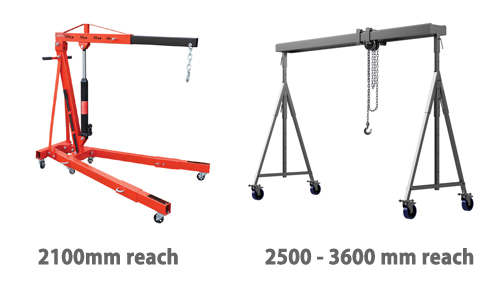
ラック/プラットフォーム/ケージを持ち上げるには、伸縮式クレーンまたは移動式ガントリークレーンの使用を推奨します。
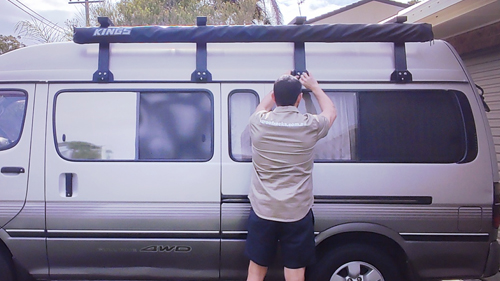
アクセサリーを取り付け、インストールを再確認する準備が整っているはずです。
Metals rusts in soil or sand because it comes into contact with moisture and oxygen, a process accelerated by soil characteristics like salt content, pH, and microbial activity. Water acts as an electrolyte, and the soil provides moisture and oxygen for the reaction to occur, which forms iron oxide (rust).
Please avoid contact of the products with oil/sand/water!
Recommended maximum tightening Torque for our hardware M8 is 25Nm (handtight).
Power tools are NOT REQUIRED to install our product/s.
By using power tools you will damage the thread and coating of our products and eventually your vehicle gutter.
If your gutters are not protected, use an acrylic tape or self adhesive and water resistant 15mm seal trims or mounting tape. Even butyl rubber or latex from a bike tube will do the job to isolate the bracket from the vehicle gutter.
We encourage installers to use a good silicone self-fusing tape, liquid sealant, silicone or lanolin spray, high density thread seal tape or anaerobic sealant if you're planning a low-maintenance and long-lasting installation.
Bunnings sells BOSTON 50g Liquid Sealant .
It's higly recommended to put nylon washers between the attachment substrate (bracket) and the stainless steel washer to avoid galvanic corrosion .
As a reference, check metals used on your setup against this useful galvanic reaction chart for dissimilar metals .
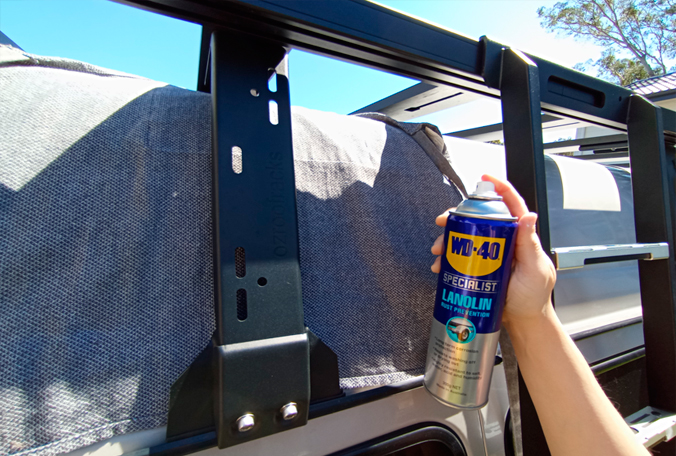
If your vehicle is constantly expose to weather or you live in a environment with high salinity, use a rust preventer to protect your set-up creating a protective barrier against moisture, rust, soil and corrosion.
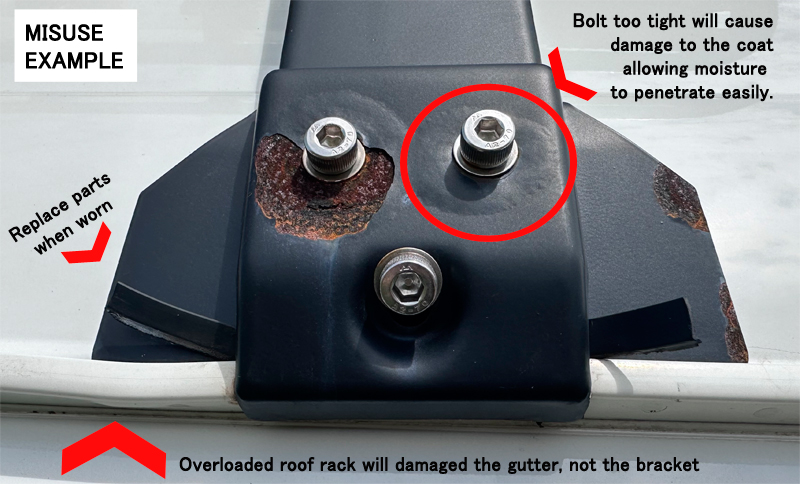
Rust is a slow process.
Because rust is permeable, prevention focuses on stopping its formation in the first place.
Just by looking after your product and checking its condition every 2-3 months you can extend its lifespan.
If touch up needed, we recommend Dulux Metalshield® Epoxy Enamel spray paint (note that colours may vary).
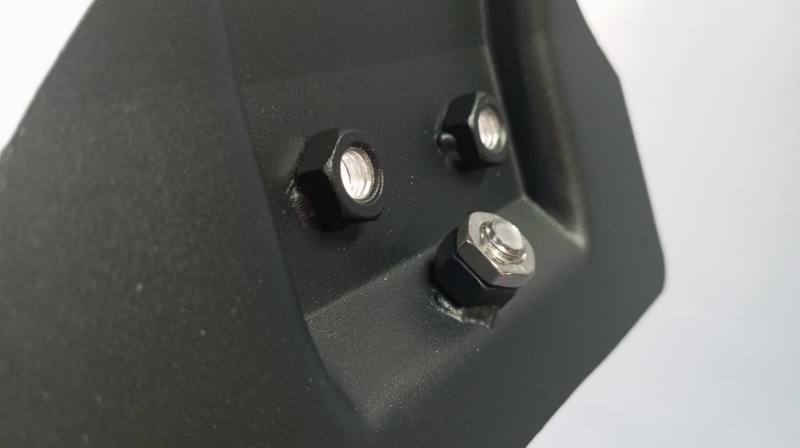
Main reason to avoid power tools when installing our product/s.
If one of the threads on the bracket was damaged, you can use a tap & die set to repair it or just place a thin lock nut behind.
This last method has been tested & proof to improve the resistance to stress up to +4 times in some of our models.
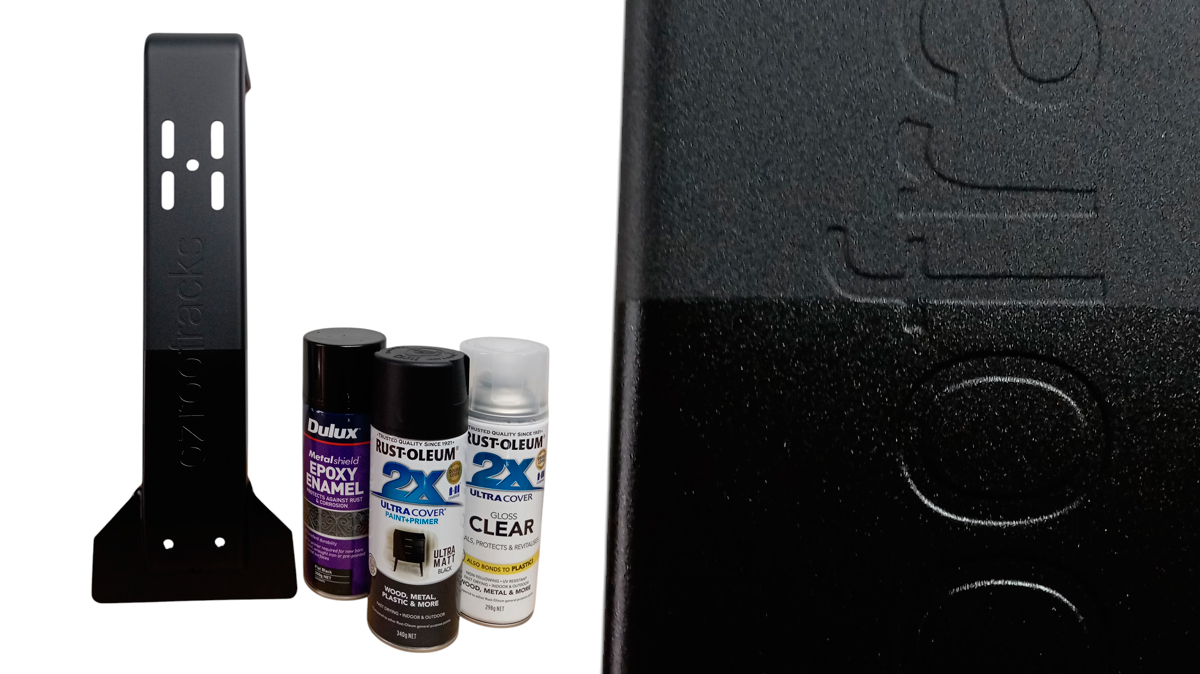
Your product colour will fade along the time. You can opt to restore the colour by spraying with clear coat, epoxy enamel or specific metal paint.
Dullux Australia Metalshield® Epoxy Enamel will add a long term protective layer already tested with amazing results on our carbon steel brackets.