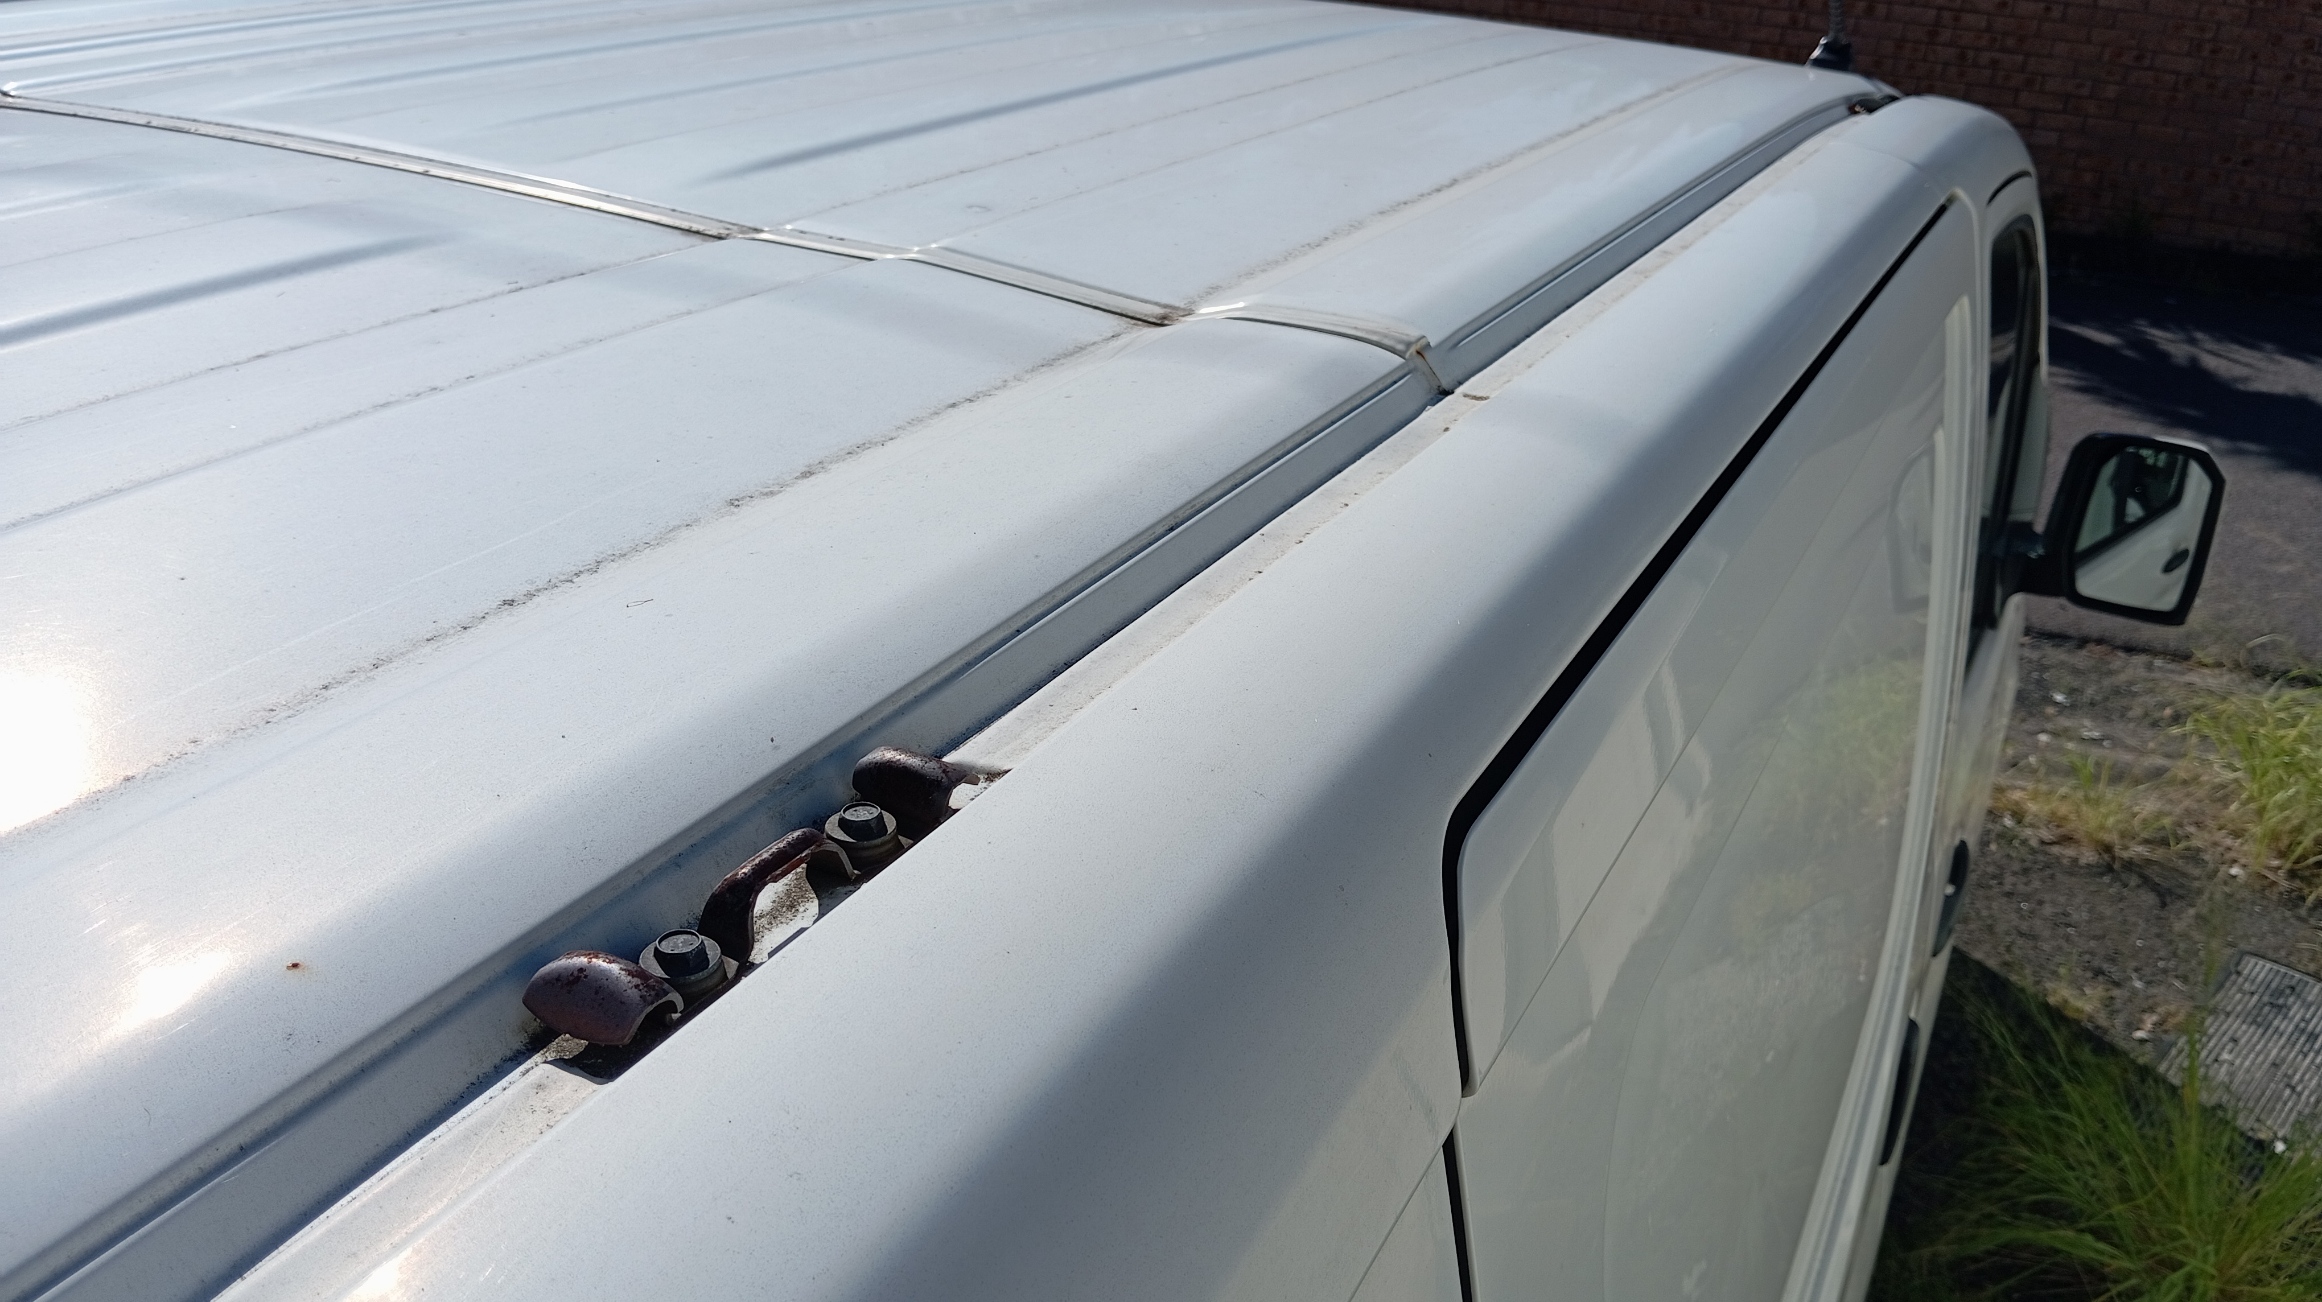
Step 1 – Prepare the vehicle
Locate the factory mounting points beneath the roof ditch moulding. Thoroughly clean and dry the roof and surrounding work area before removing any components or installing accessories..
取り付けガイド
OZ300 Installation Guide
Locate the factory mounting points beneath the roof ditch moulding. Thoroughly clean and dry the roof and surrounding work area before removing any components or installing accessories..
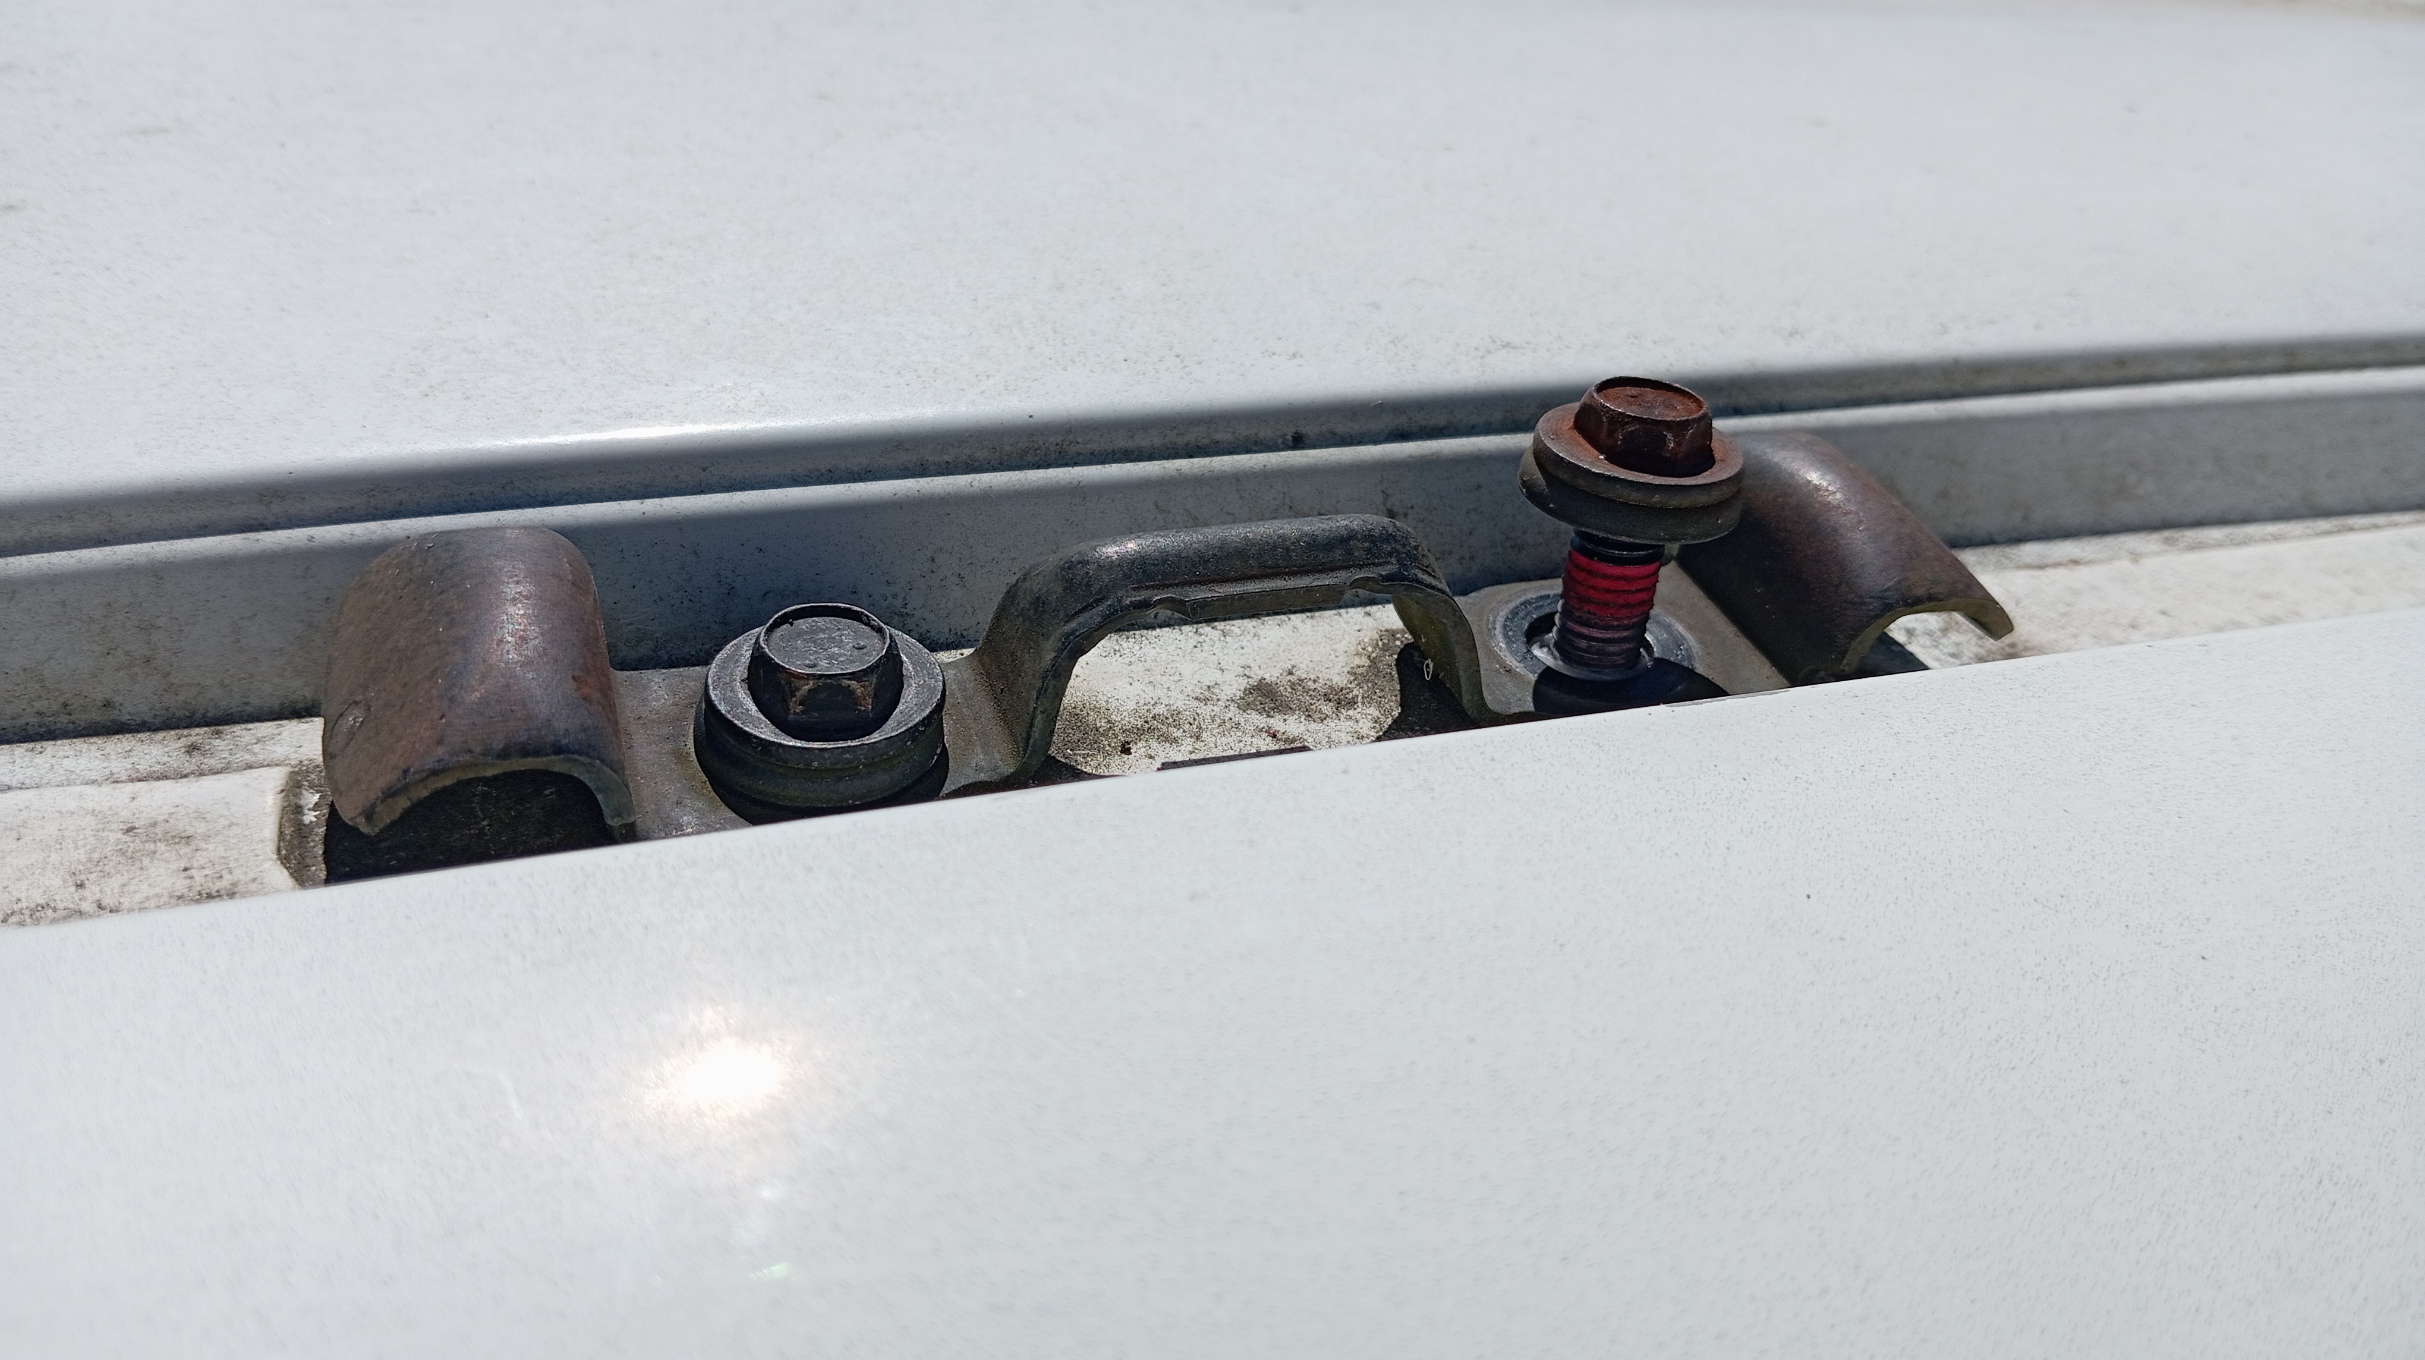
Carefully remove the factory bolts, covers or brackets. Clean beneath them thoroughly and inspect the mounting points, threads and surrounding roof area for corrosion, cracks, deformation or other damage.
Do not continue with the installation if any damage is found. Have the area assessed and repaired by a suitably qualified professional first.
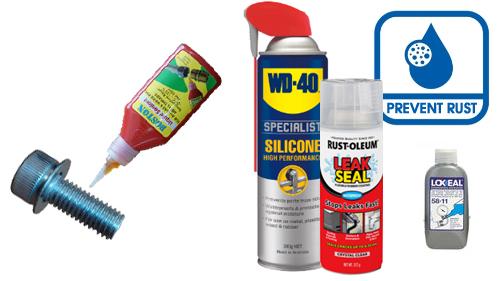
We encourage installers to use a good silicone self-fusing tape, liquid sealant, high density thread seal tape or anaerobic sealant if you're planning a low-maintenance and long-lasting installation.
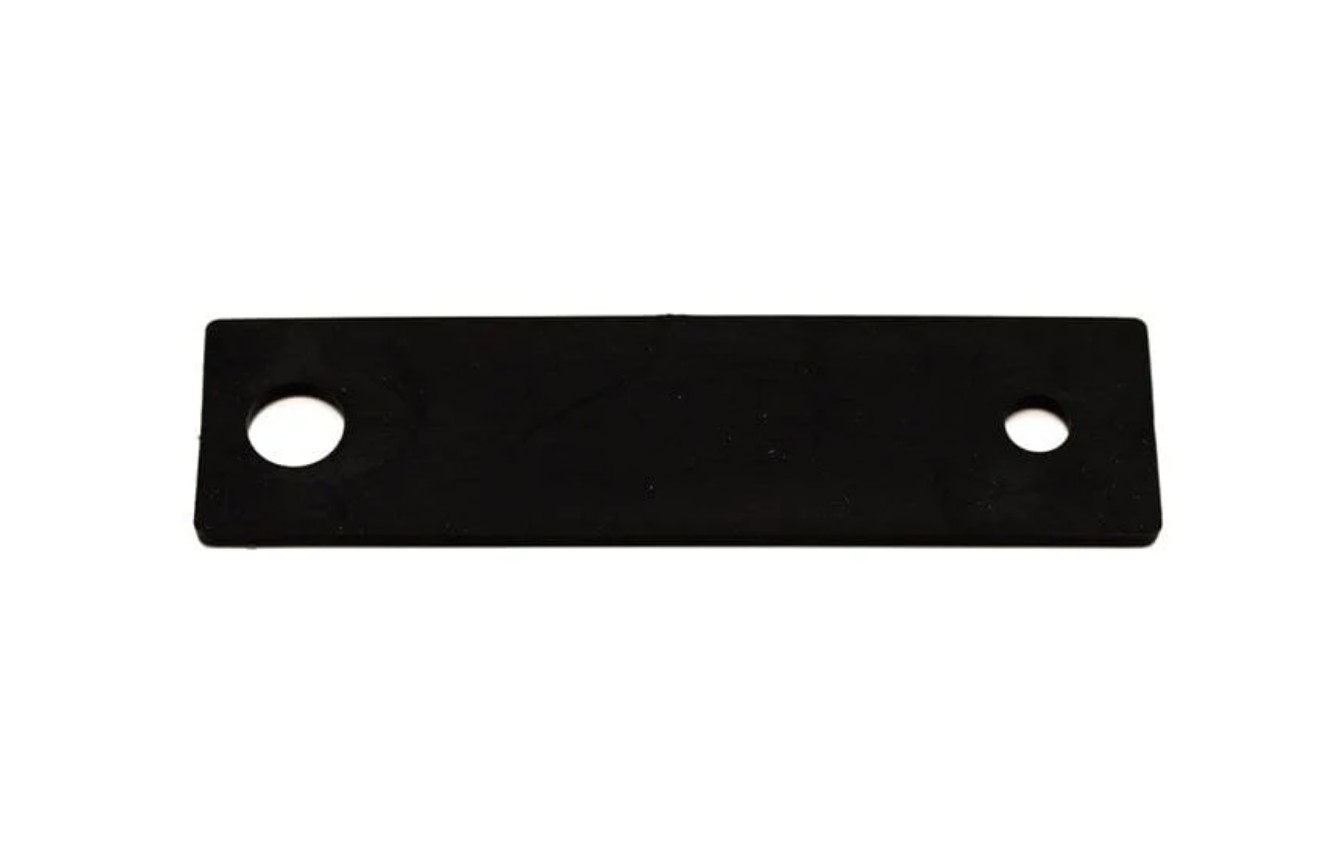
Where suitable for the vehicle and installation, place an outdoor-grade rubber liner or protective strip between the bracket and the roof. This provides an additional barrier between the surfaces and helps protect the vehicle’s finish.
Ensure the liner does not obstruct the mounting holes, prevent the bracket from sitting flat or interfere with the watertight seal.
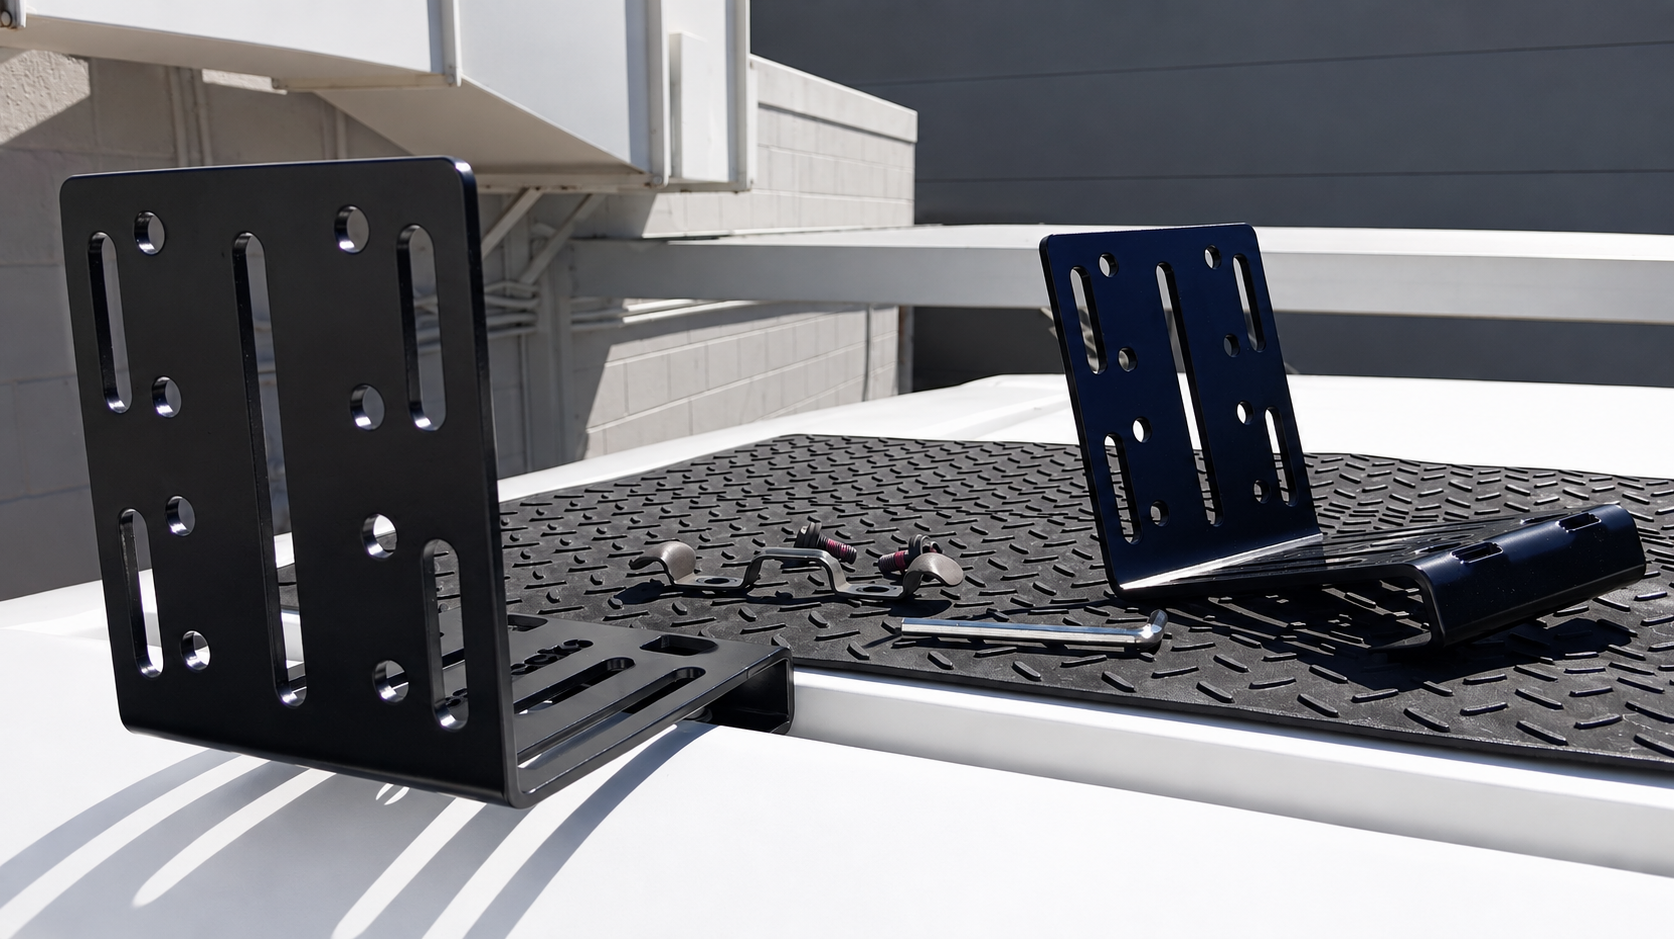
Lay out all hardware on a clean protective rubber mat to prevent damage to the vehicle’s roof.
Before adding the hardware or sealant, position the bracket over the factory mounting points to confirm that the holes align correctly and that the bracket sits flat without contacting or damaging the vehicle.
Do not modify the bracket or vehicle to force an unsuitable fit.
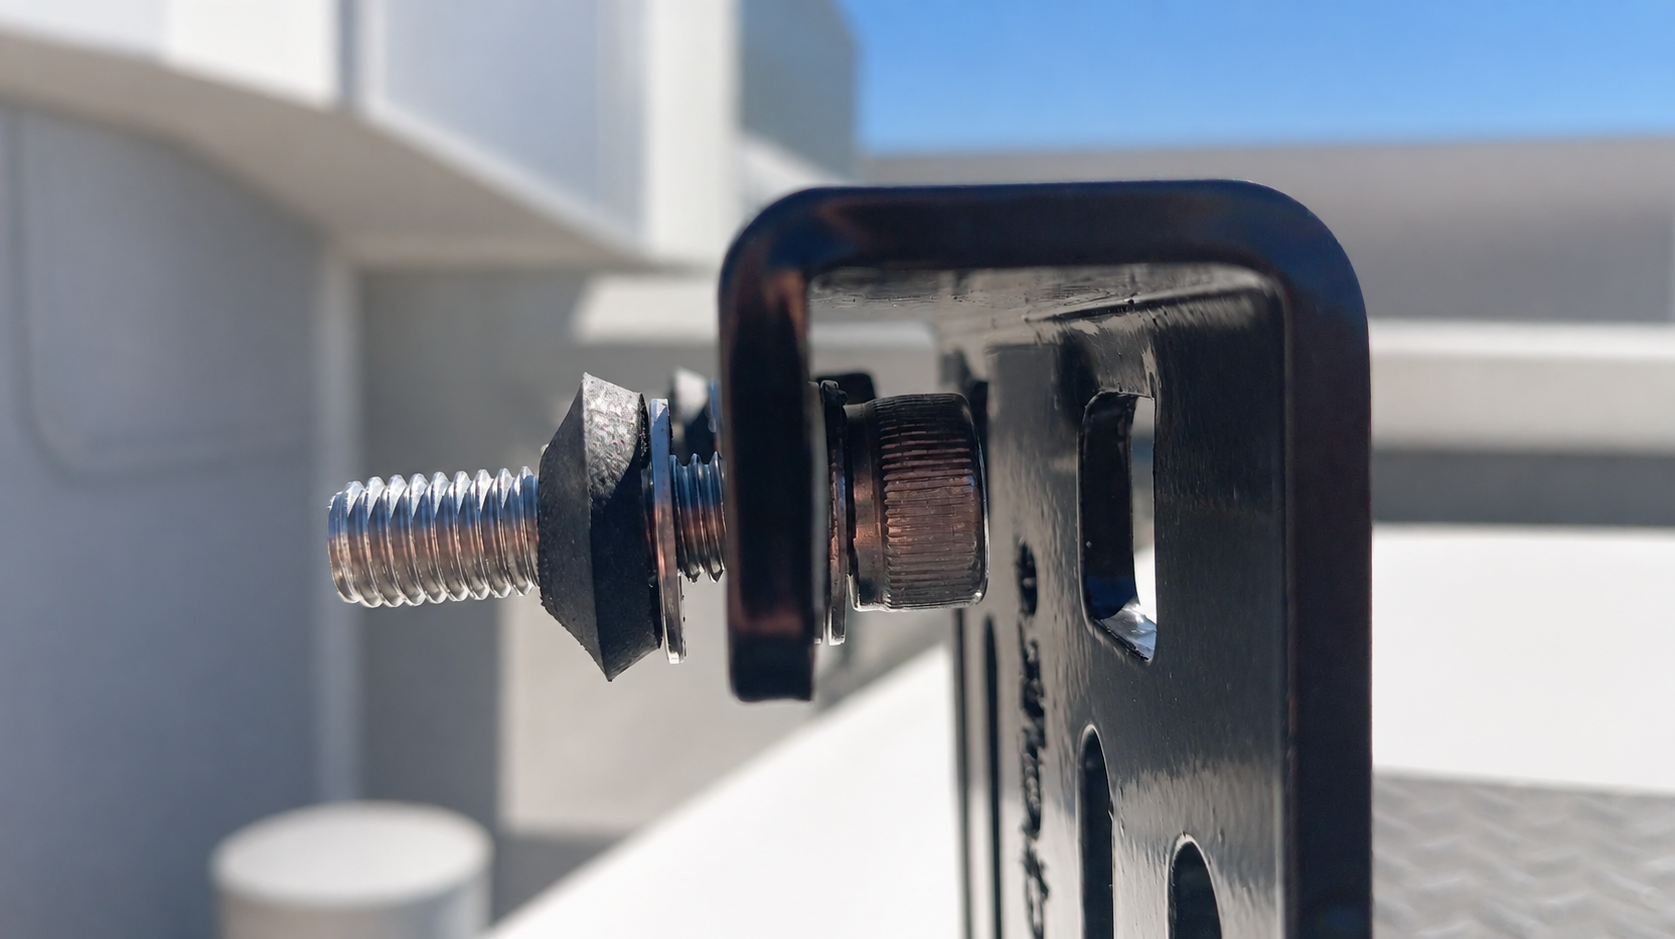
Position the supplied hardware as shown in the installation image. Start all bolts by hand and leave them loose enough to allow the bracket to align correctly.
Do not use power tools.
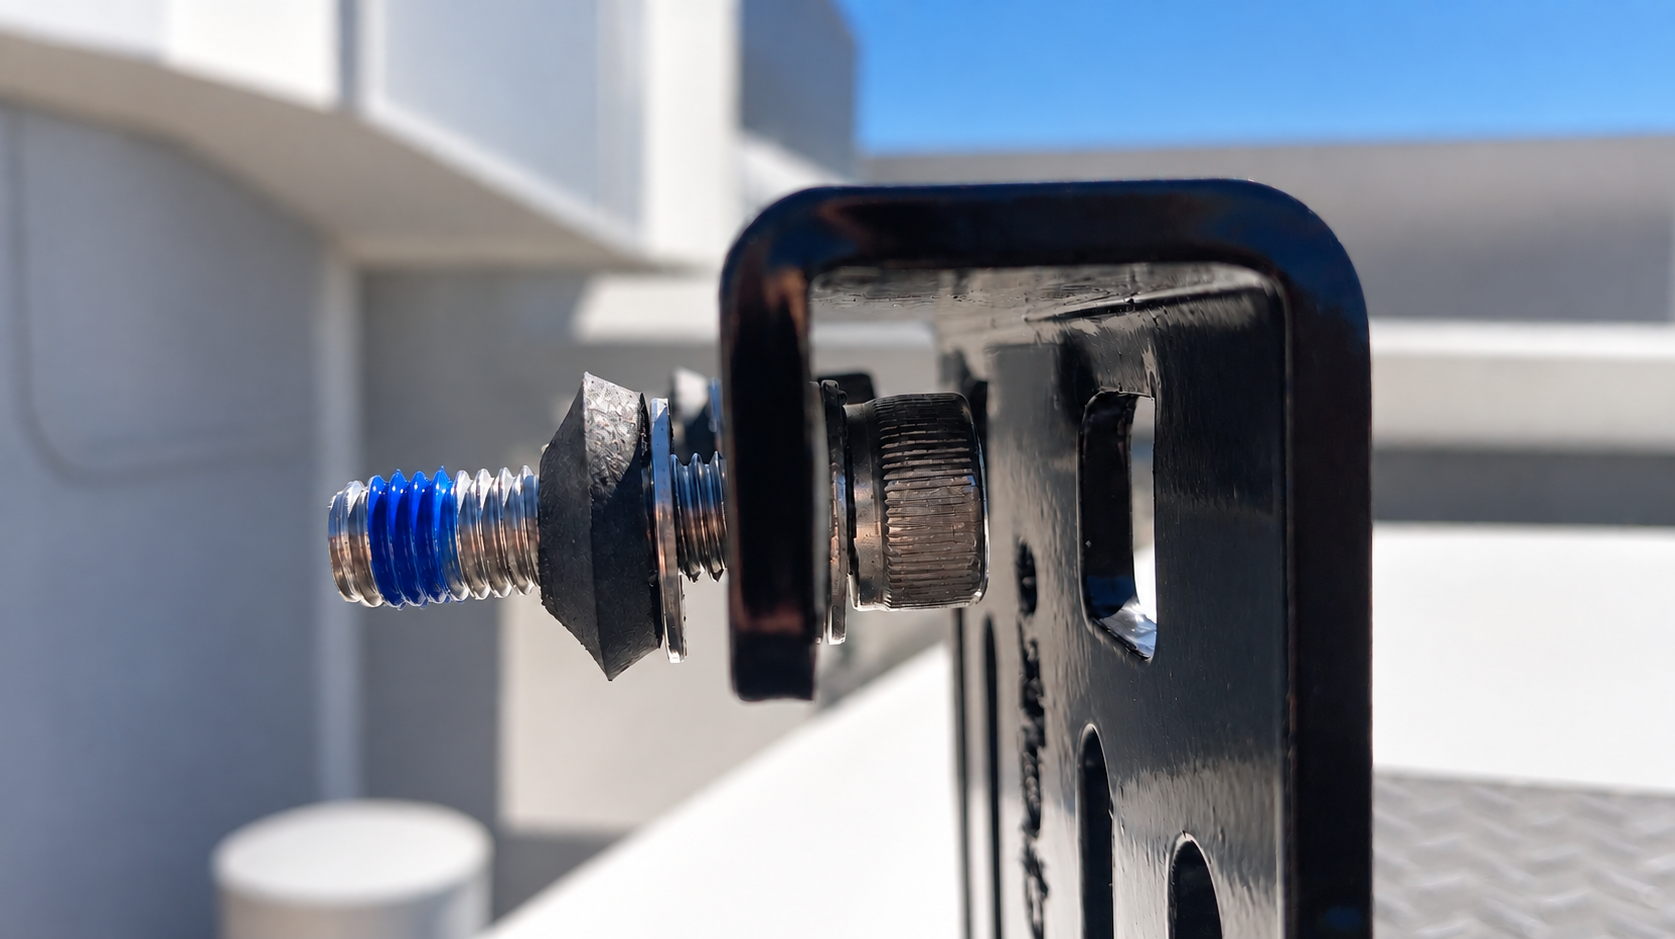
Apply the selected automotive-grade sealant around each exposed mounting hole and as required beneath the bolt heads or sealing washers. Ensure the sealant forms a continuous barrier against water ingress.
Do not rely solely on thread sealant to waterproof the roof opening.
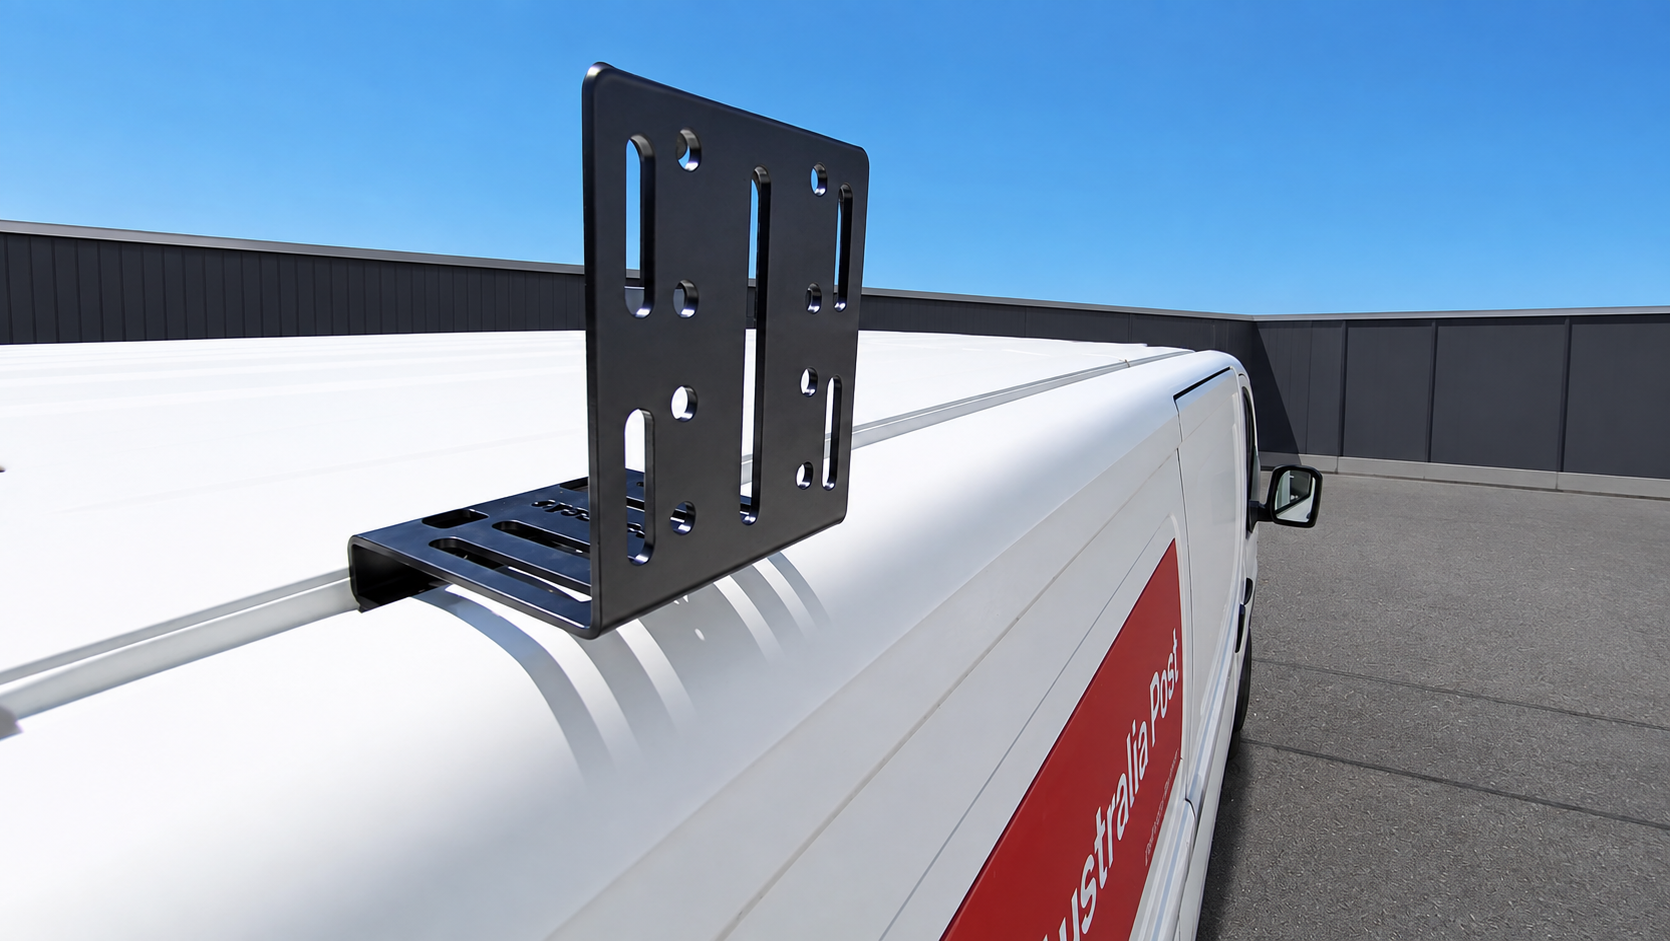
Using the Allen key provided, tighten the bolts gradually and evenly, alternating between them so the bracket remains correctly aligned.
Follow the vehicle manufacturer’s tightening specification where one is available, and do not exceed the maximum permitted torque for the supplied hardware. Do not overtighten, as this may damage the threads, bracket or vehicle roof.
Confirm that the bracket sits firmly in position without movement.
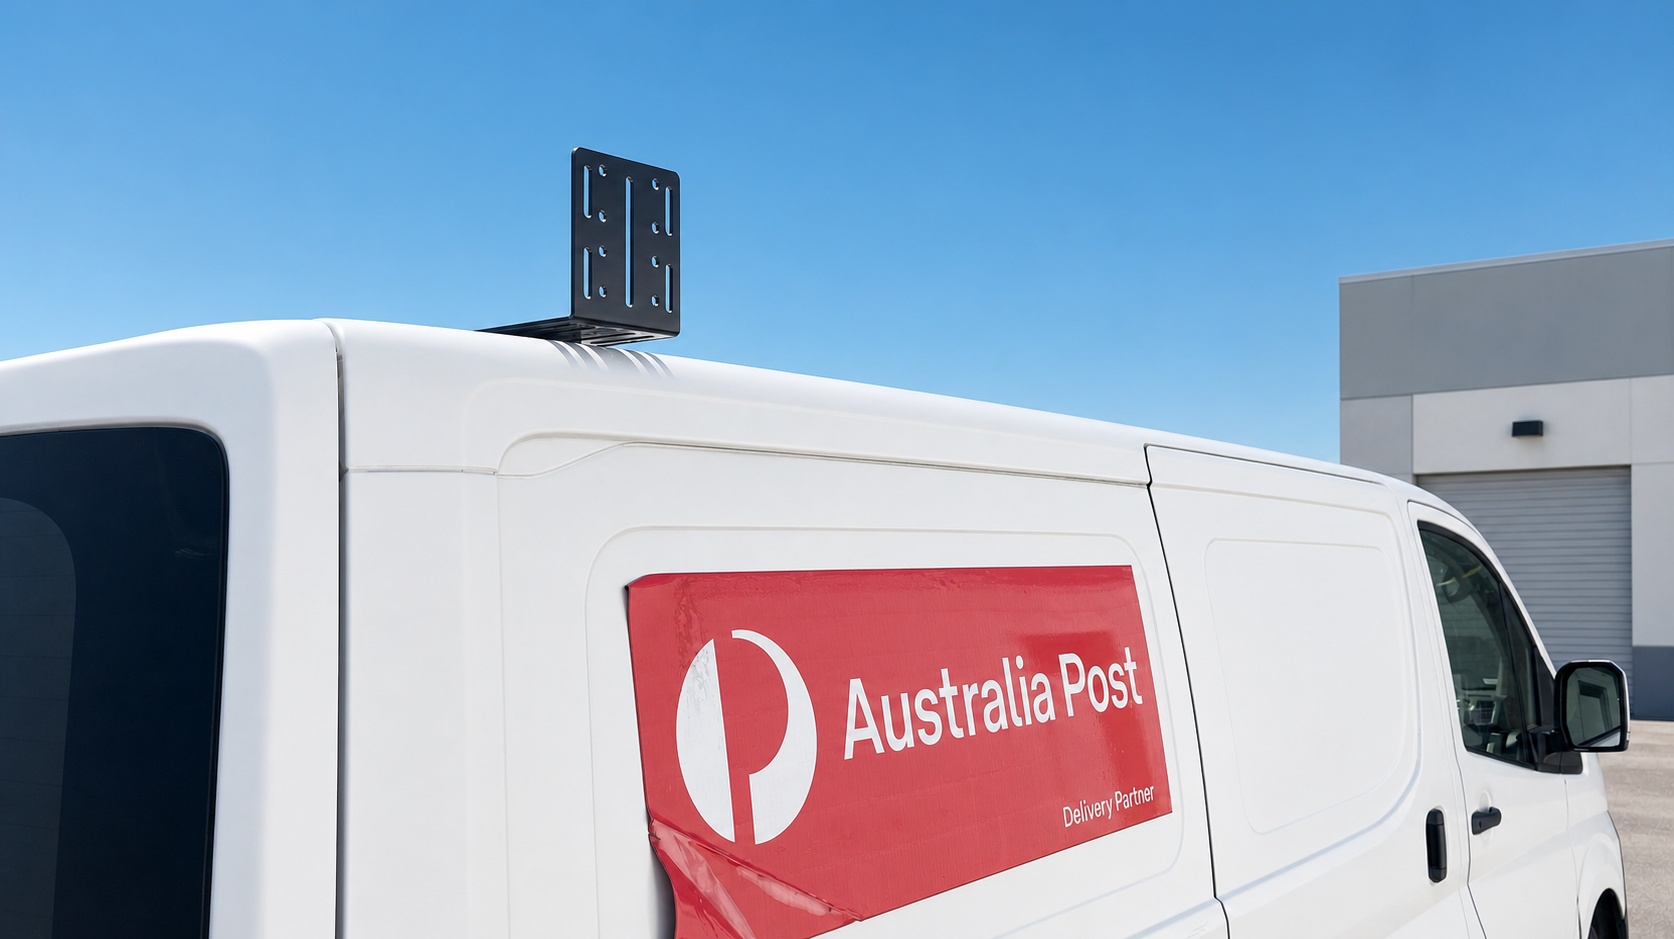
Repeat these steps for each additional bracket. The required number and spacing of brackets must be determined by the accessory manufacturer’s instructions, the vehicle’s mounting-point locations and the applicable load ratings.
Do not add brackets to unsuitable mounting locations simply to increase the system’s load capacity.
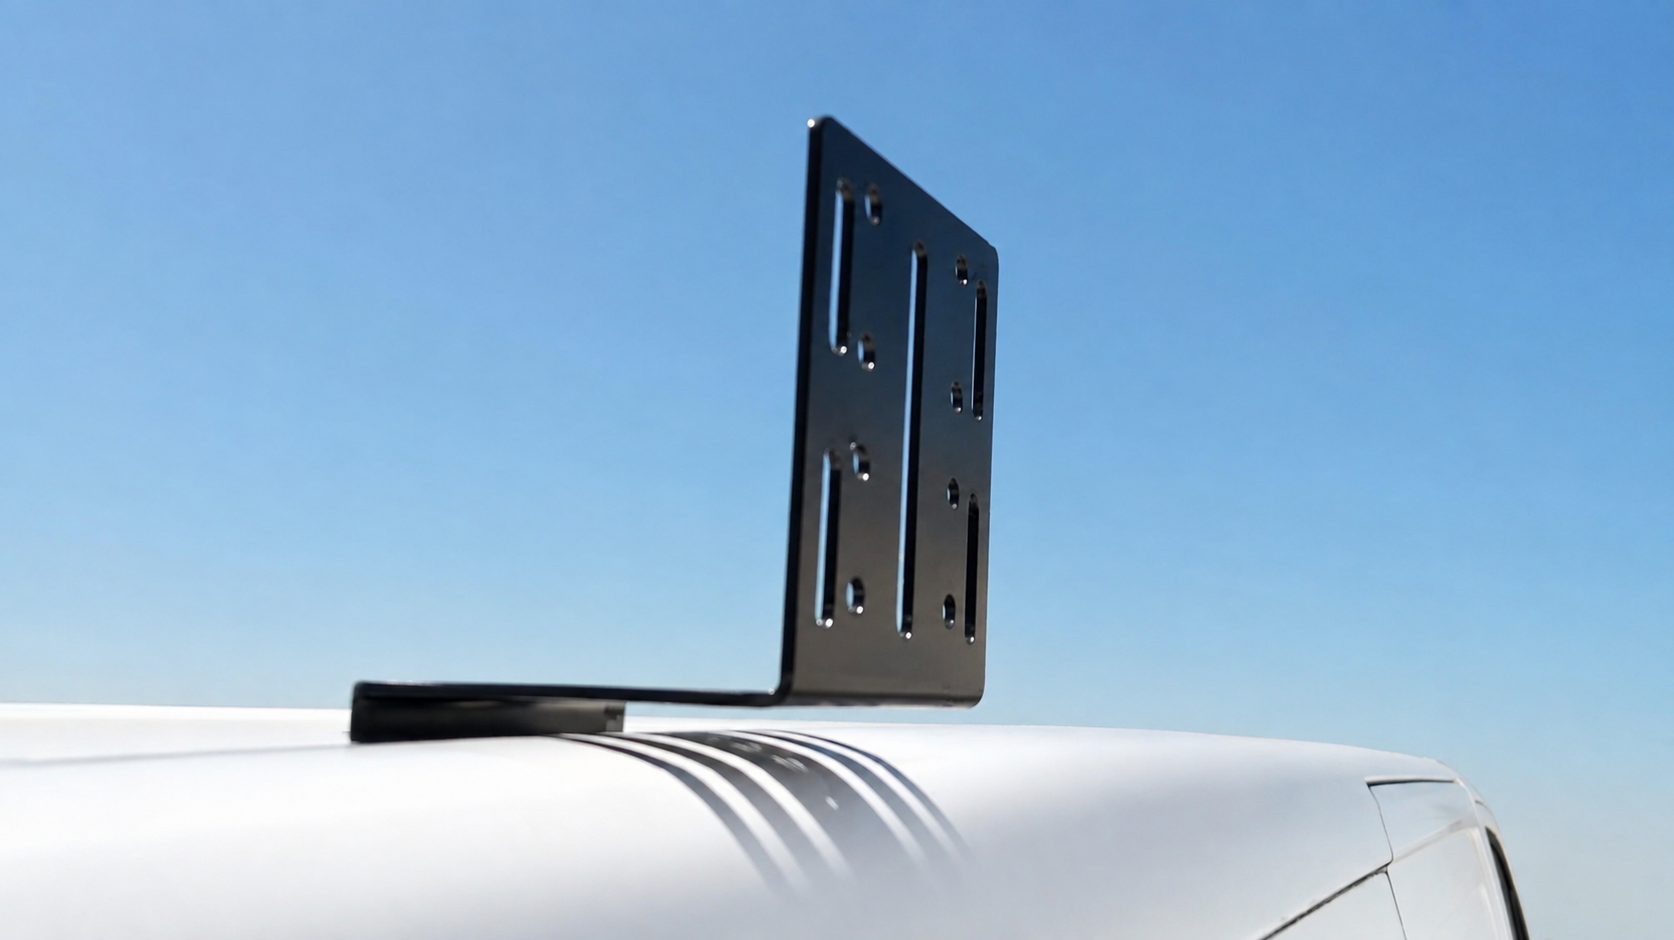
Before fitting an awning or other accessory:
Confirm that every bracket is correctly aligned and securely fastened.
Check that all mounting holes are completely sealed.
Remove excess sealant in accordance with the sealant manufacturer’s instructions.
Confirm that the brackets and hardware do not contact or damage the vehicle.
Allow the sealant to cure fully before exposing the installation to rain or loading the brackets.
Reinspect the installation after the first journey and regularly thereafter.

Ozzyは、あなたの車両に適したルーフラック、オーニング、車両アクセサリーを見つけるために設計されたAIアシスタントです。提供された情報と公開されている製品情報、Ozroofracksの互換性データベースを使用して、推奨事項と適合ガイダンスを生成します。
私たちはデータベースを正確かつ最新に保つために努力していますが、Ozzyの回答はあくまでガイドとして提供されており、最新のメーカー仕様、製品改訂、または車両の改造を常に反映しているわけではありません。互換性は、車両の正確なモデル、年式、ルーフ構成、既存のアクセサリー、取り付け方法によって異なる場合があります。
製品を購入または取り付ける前に、すべての寸法、仕様、および互換性を確認する責任があります。ご不明な点がある場合は、ご注文の前にOzroofracksにお問い合わせください。
Ozroofracks、その所有者および関連会社は、AIアシスタントによって提供された情報に基づく損失、損害、怪我、設置エラーまたは費用について一切の責任を負いません。Ozzyの推奨事項と公式メーカーの仕様または設置手順の間に矛盾がある場合は、常にメーカーの文書が優先されます。